Bouncify extension for Zoho CRM

Customer Support
Last Update 4 年前
Prerequisites
- You must be the Zoho CRM's super admin.
- Zoho CRM Enterprise edition or higher is required.
- You should have a Bouncify account or create a new one https://app.bouncify.io/register.
Advantages of Bouncify
- Simple email address validation.
- Validates individual emails using api call.
- Automatically validates the email address while installing the extension.
- You can also validate the email manually each time using a button.
- We provide 100 email verification credits for free for each new signup.
How to install Bouncify?
- Open “Zoho Marketplace”
- Search for ‘Official Bouncify Email Validator for Zoho CRM’
- Click on the thumbnail for installing the extension
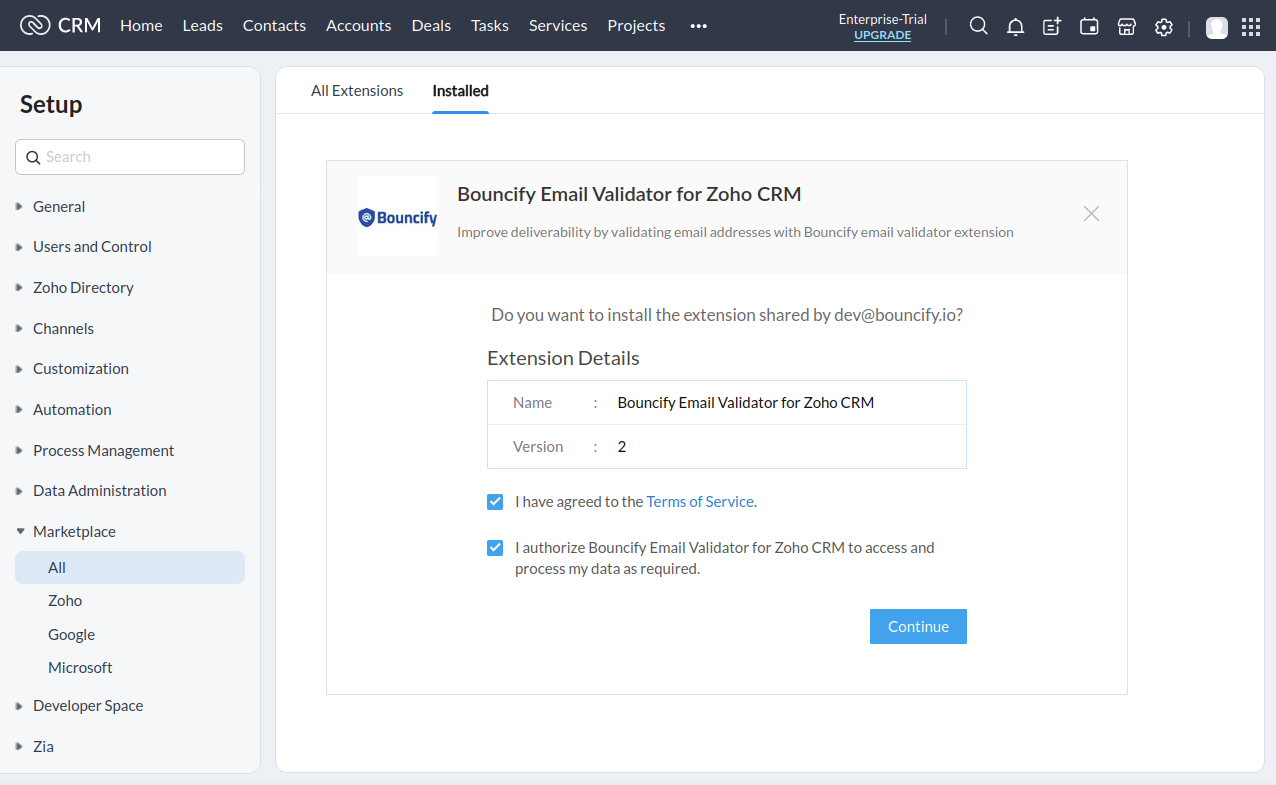
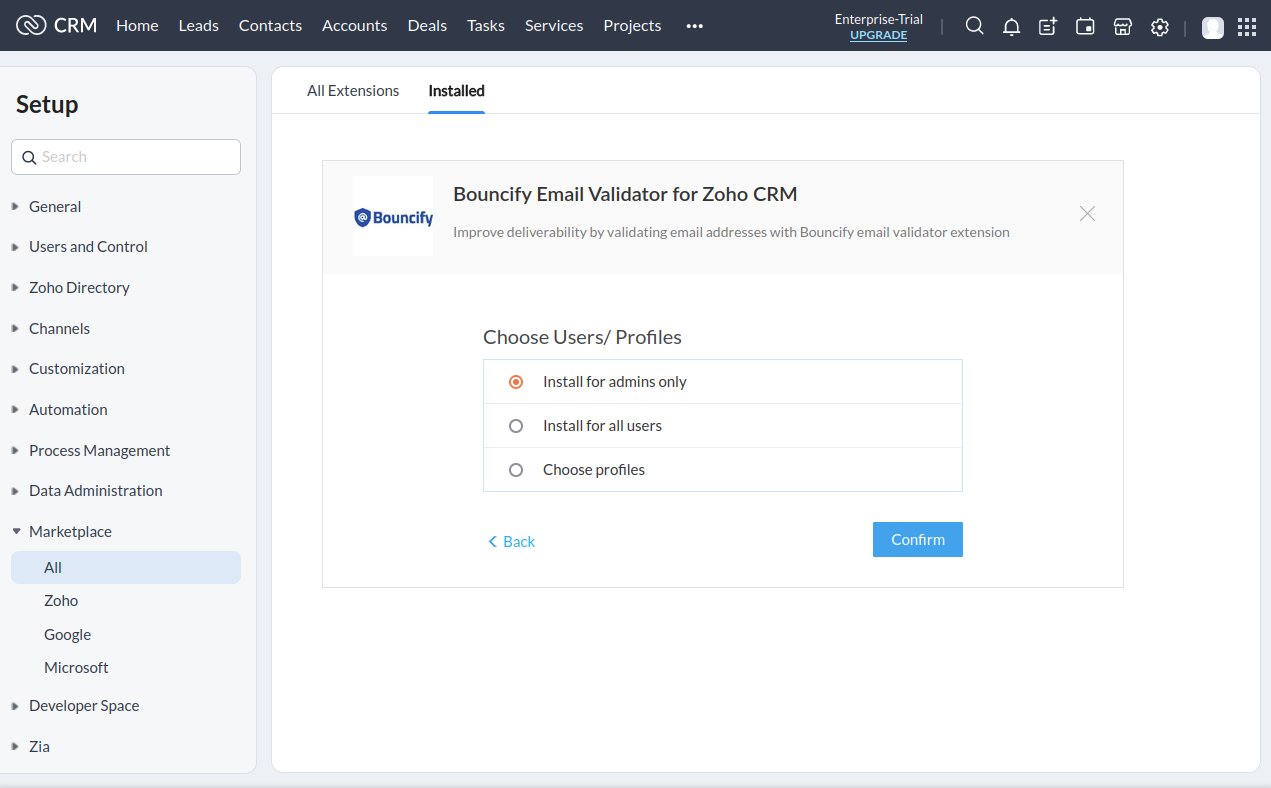
- Choose users or profiles according to your preference
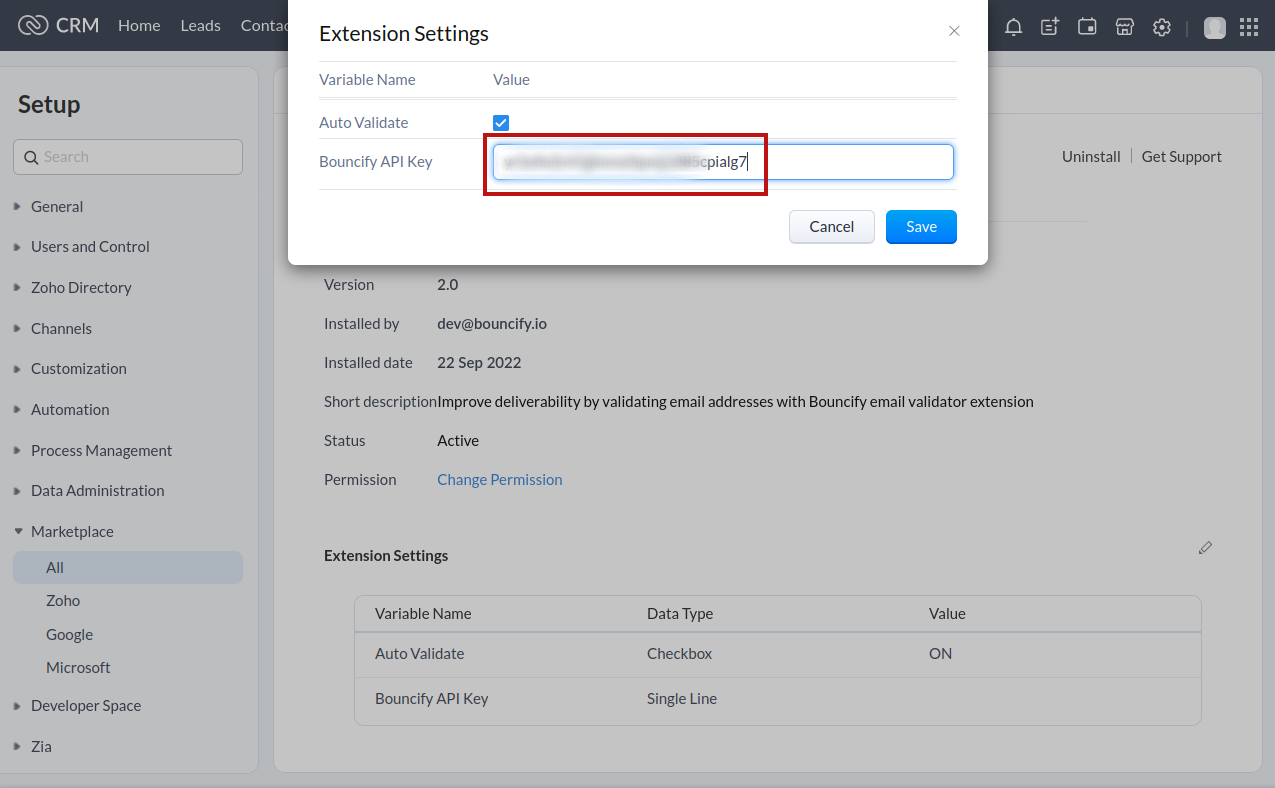
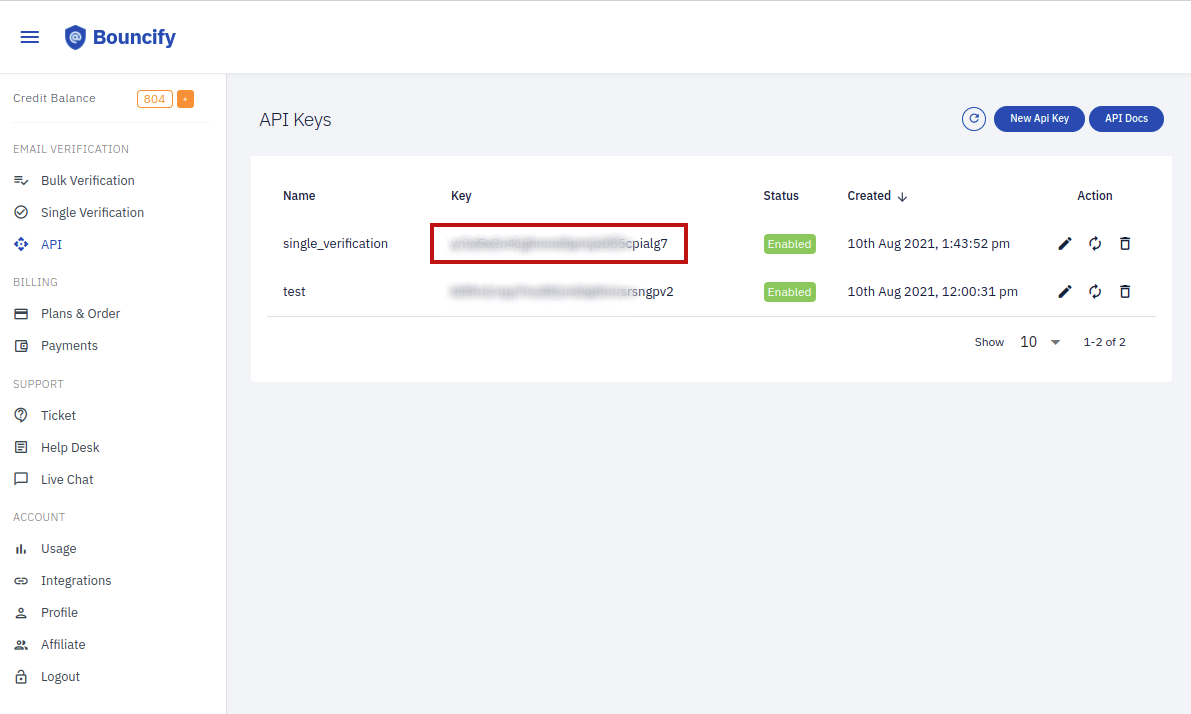
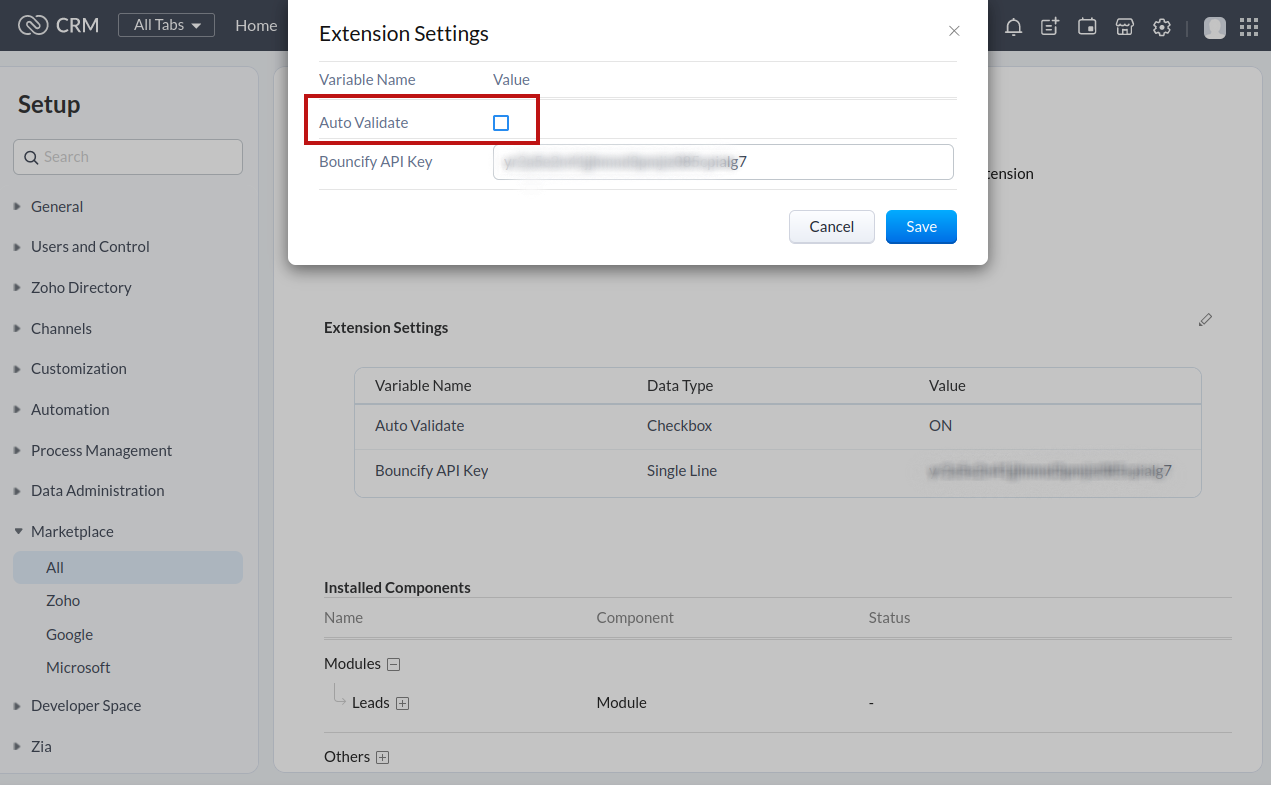
- While installing the extension there is a pop-up that appears on the screen. You have to paste the API Key which is given by "Bouncify". Copy the API Key and paste it in the Bouncify API’ Key Field in Zoho CRM extension setting.
- The “Auto validate” option is enabled by default. This will allow you to validate the emails automatically while creating the lead.
- You can find the API key in Bouncify Account under the API section.
- After installing the extension there will be a pop-up appear on the right bottom of the screen in CRM as the extension was installed successfully.
New fields in the lead module
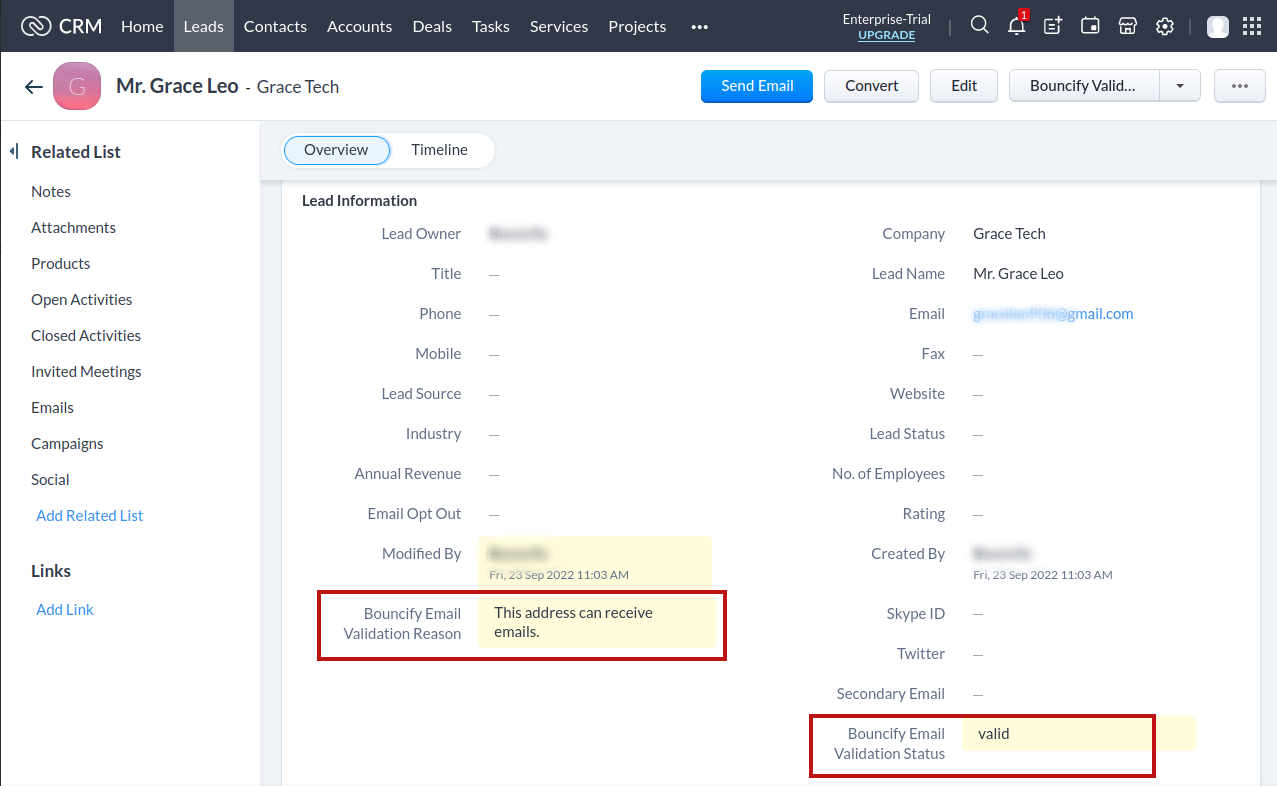
Following are the new Bouncify email validation fields added at the lead module in Zoho CRM
- Email Validation Status - This field updates the status of whether the Email is valid or not. To learn more about verification status visit here https://bouncify.tawk.help/article/understanding-result
- Email Status Reason - This field updates the reason for the email validation status.
How does automatic validation work?
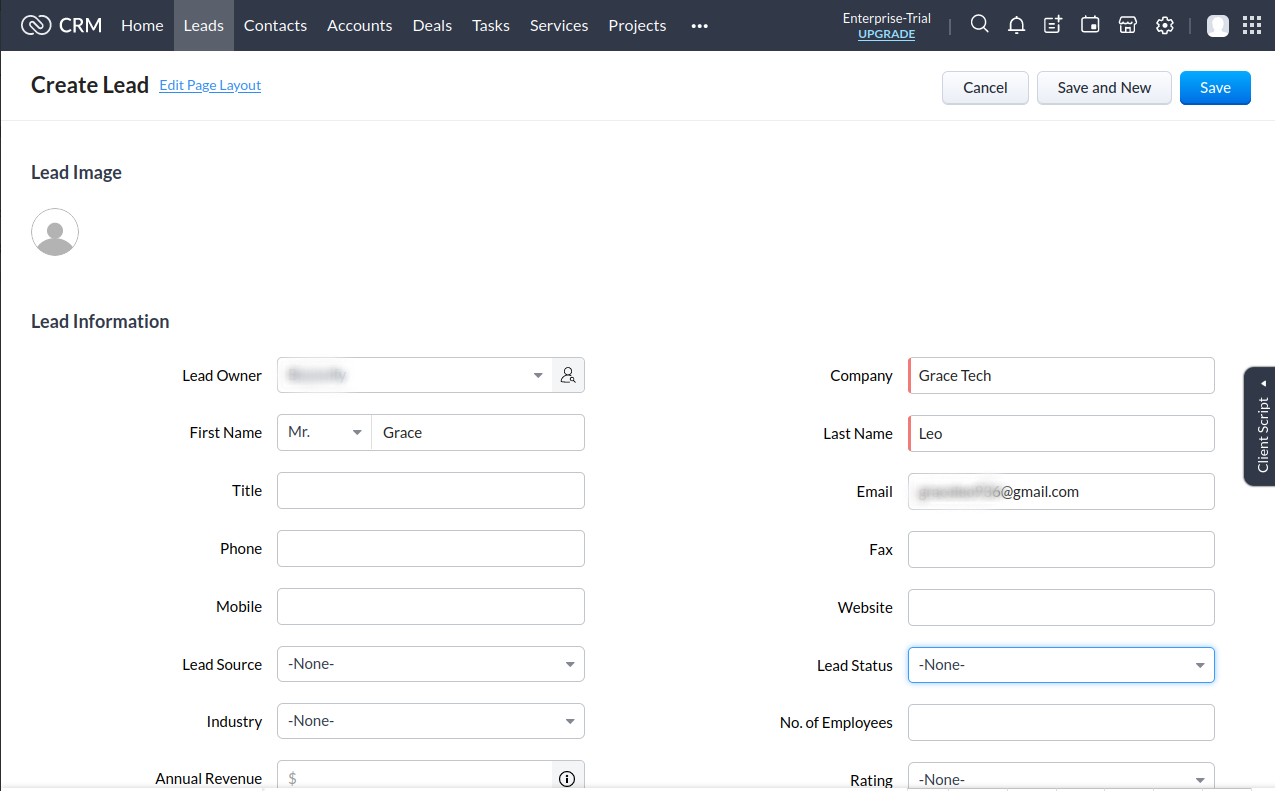
In automatic validation, while creating a new lead Bouncify extension automatically validates the email and updates the email verification status and reason.
- Create a new lead in your Zoho CRM. After updating the lead information, click the Save button.
- Your lead email will be automatically verified and result status will be initiated.

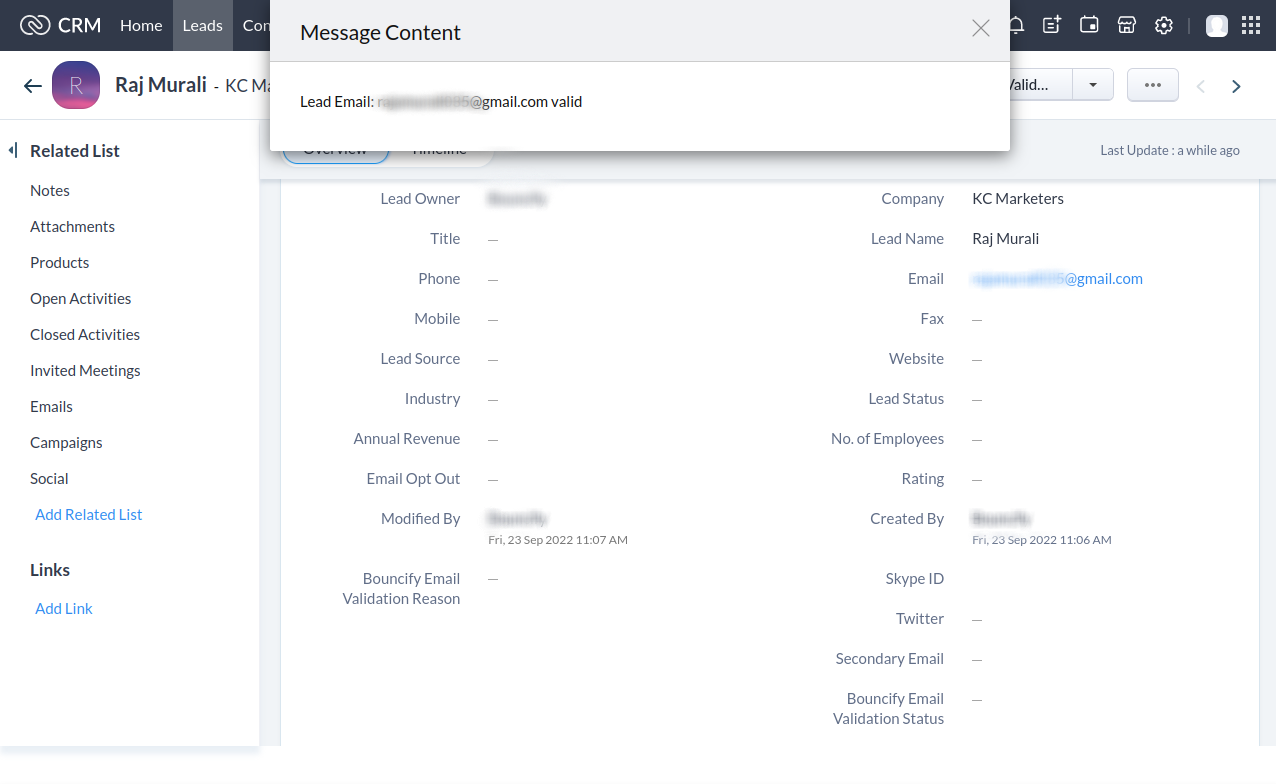
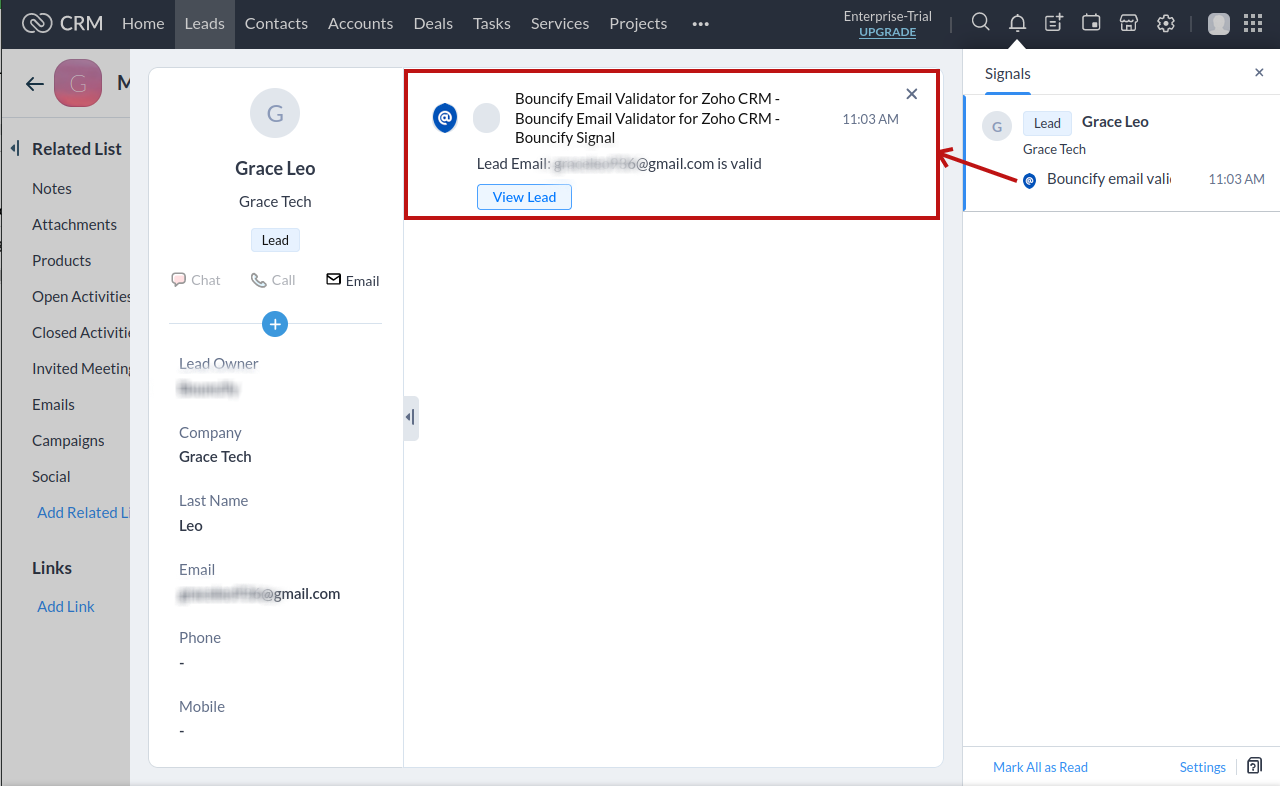
- Once the lead email is verified, you will receive a sales signal.
- By clicking the bell icon,you can view the current status of email validation.
How to validate emails manually?
- If you uncheck the ‘Auto validate’ option in extension settings, lead email will not be verified while creating the lead.
- You can validate an individual email address manually, there is a button named “Bouncify Validate Email” available in the view page of the Leads. You can validate emails manually by clicking the button.
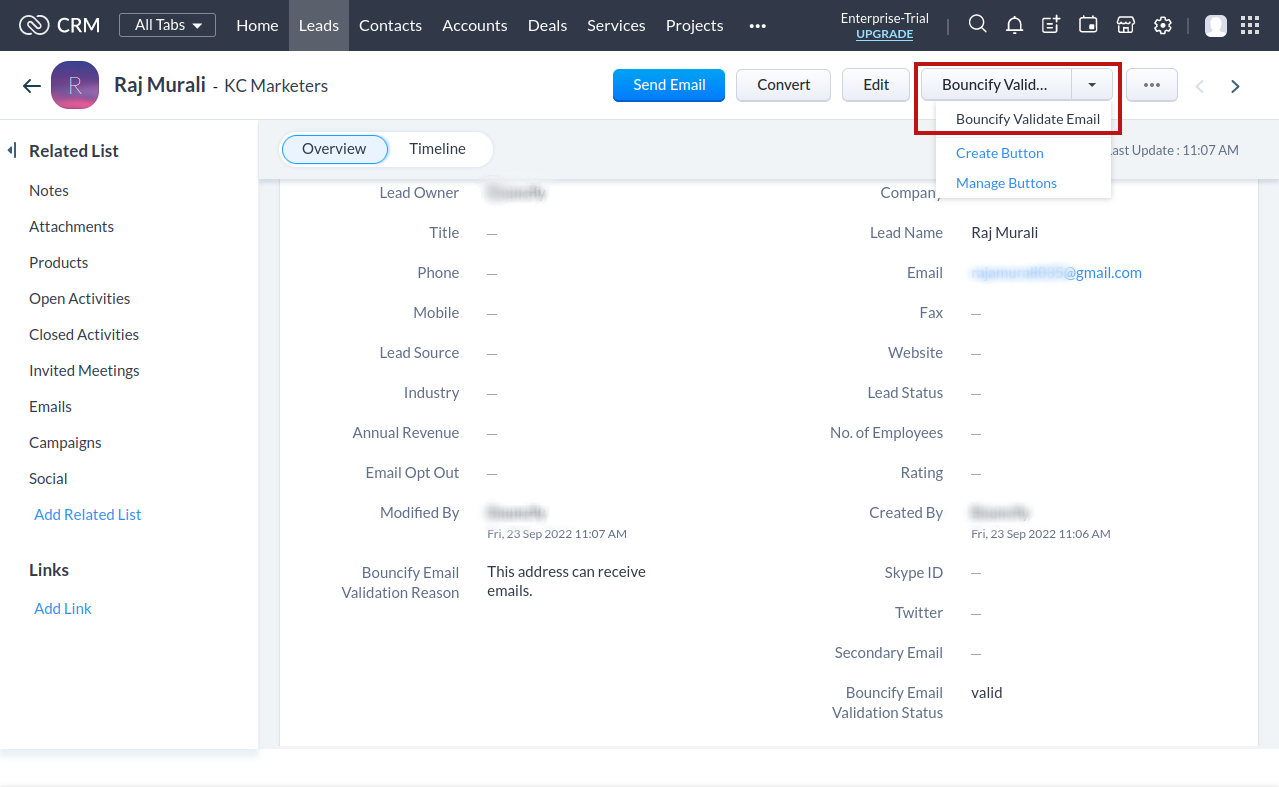
- After completing the verification, a pop up notification with the verification status will appear in the CRM.